User's Guide
This guide walks you through how to use ChamberForge website to send referrals, report 1-to-1s, and add guests for the first-time users.
1. Accept Invitation
Chances are that you received an invitation to join ChamberForge from another member in your group. Click on the Accept Invite link in your e-mail to accept the invite and create an account on ChamberForge. Once you finish the registration process and log in, you will automatically be added to your group.
If you do not see the invite, please check your spam folder or ask your group leader to re-send you the invite.
2. Update Profile
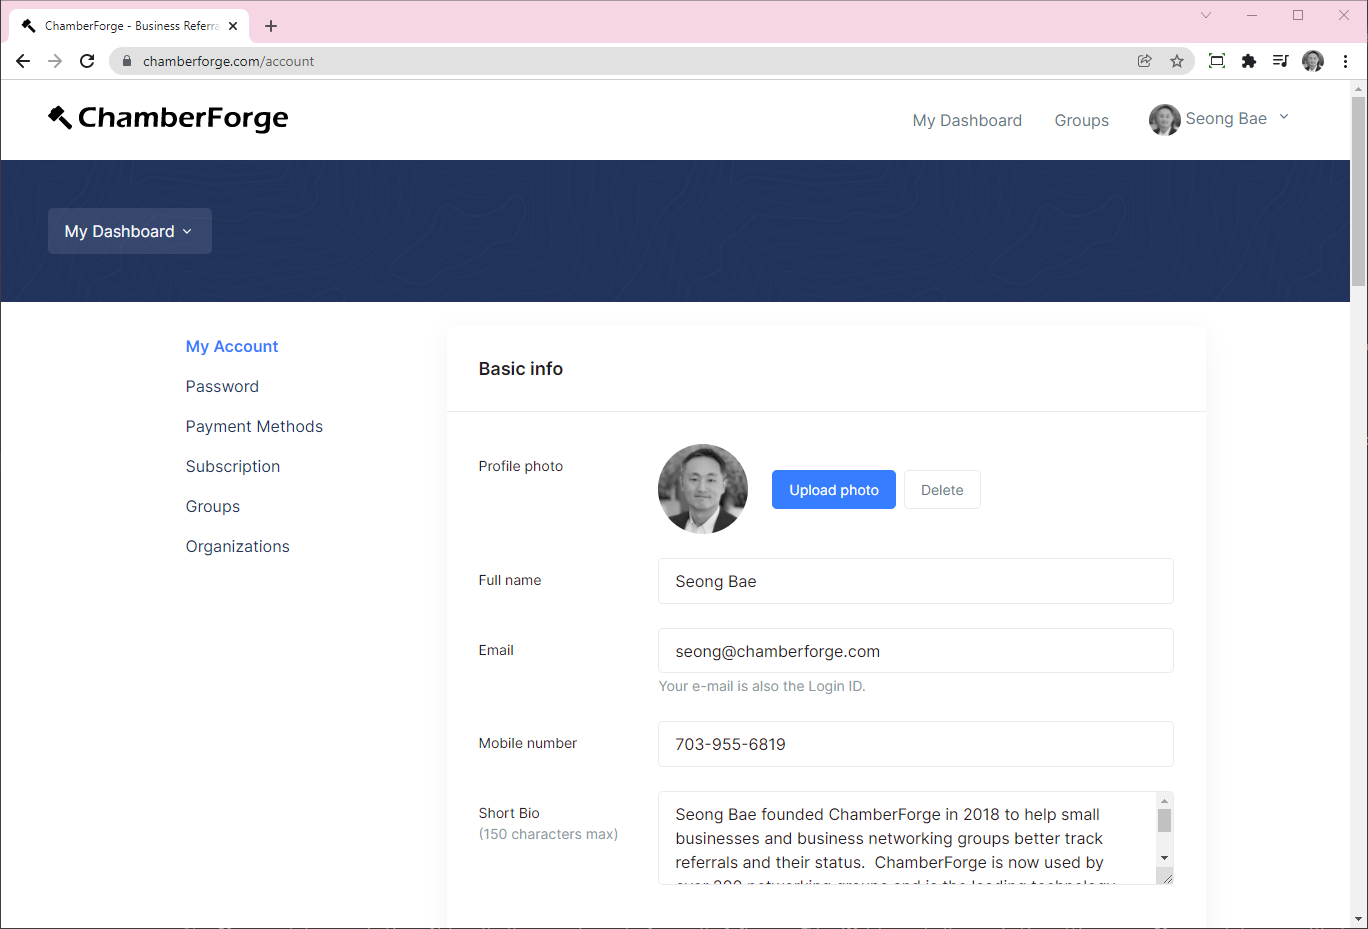
After creating an account and logging in, one of the first thing you should do is complete your profile so that your group members can learn about you. Click on your name on the upper right corner, then My Account. You can then fill out the form and click on Save.
Send a Referral
To send a referral to another user, first, tap on the group you and the receiver belong to. Then tap on the plus(+) icon. On Android, this icon is located on bottom right. On iOS, it is located on top right corner. Once the icon is tapped, you will see list of actions you can take. Tap on "Add Referral."
You will see following fields on the Add Referral screen. To and Date fields are required - others are optional:
- To - select who will receive the referral
- Date - select date the referral is given
- To - select who will receive referral
- To - select who will receive referral
- To - select who will receive referral
- To - select who will receive referral
- To - select who will receive referral
Change Referral Status
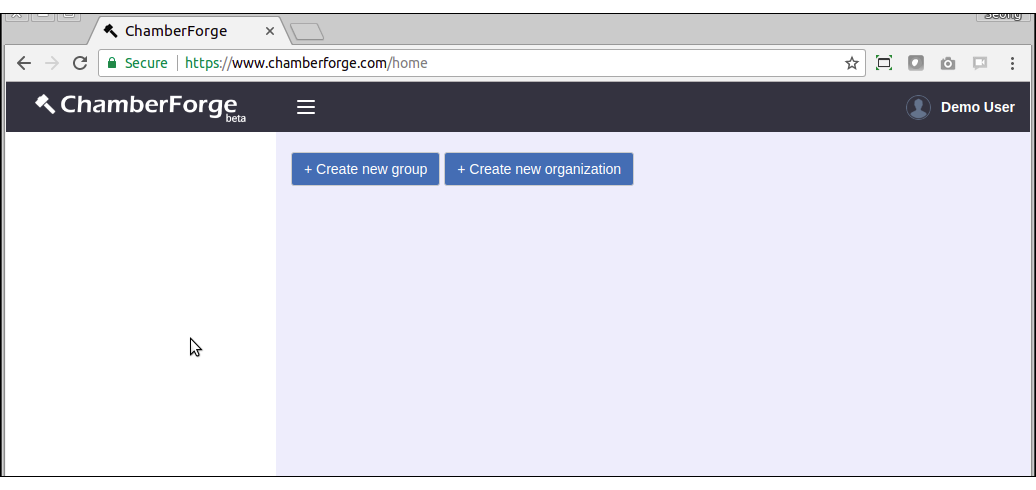
When you register on ChamberForge and log in for the first time, you may see options to create a group or an organization.
Group - create a group if you manage a single group of members or businesses.
Organization - create an organization if you are with a staff with chamber of commerce or larger business associations with more than one group. If you create an organization, you can still create groups under your organization.
Report 1-to-1
If you created an organization, click on the three-gear icon under logo on the left menu. This will take you to the organization settings page. If you created a group without an organization, you can click on the group to go to the group page and you will see a gear icon in the same area which takes you to the group settings page.
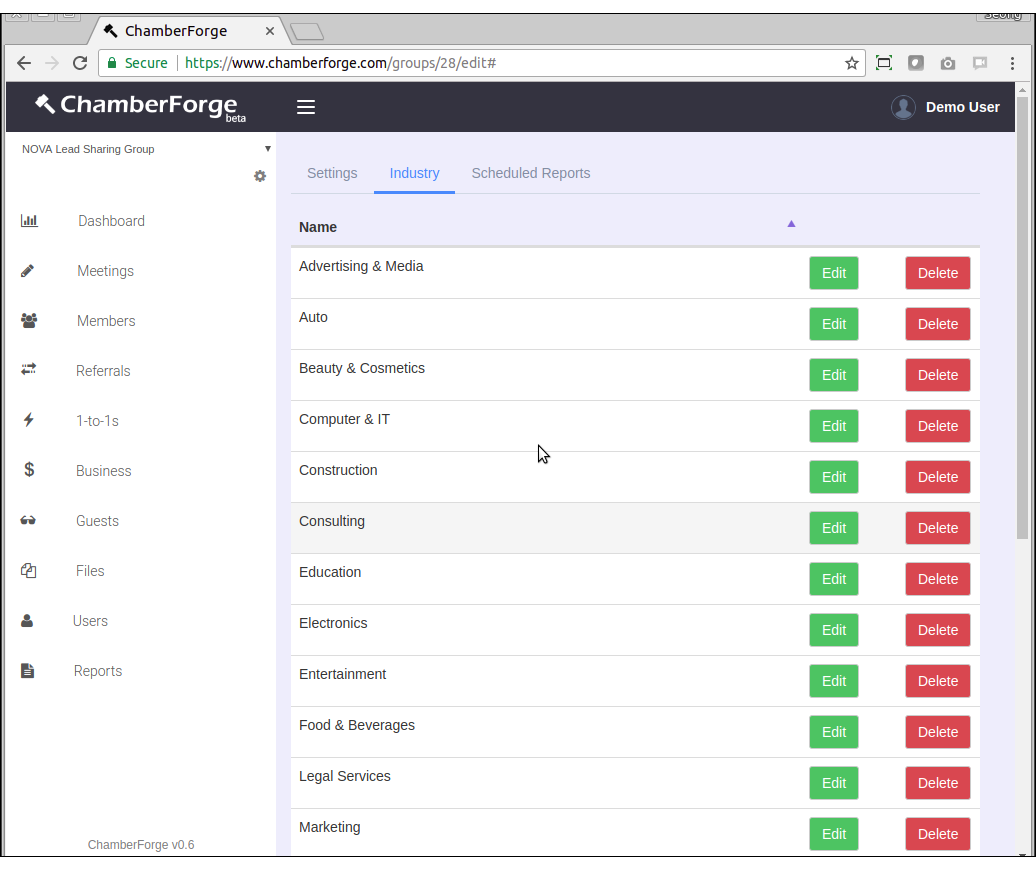
Once you are on the organization or group settings page, click on the Industry tab. Then click on "Add Industry" button.
Here you can add industries per your group or organization. Add one industry per line. To see an example, click on the "Add sample industries" link.
After adding industries, your screen will look like below:
Add Guest
Next step is to add members of your group. Click on Members menu from left side. Click "Add New" button and start adding one member at a time. The only required fields are name and email - all other fields are optional.

Look up Members
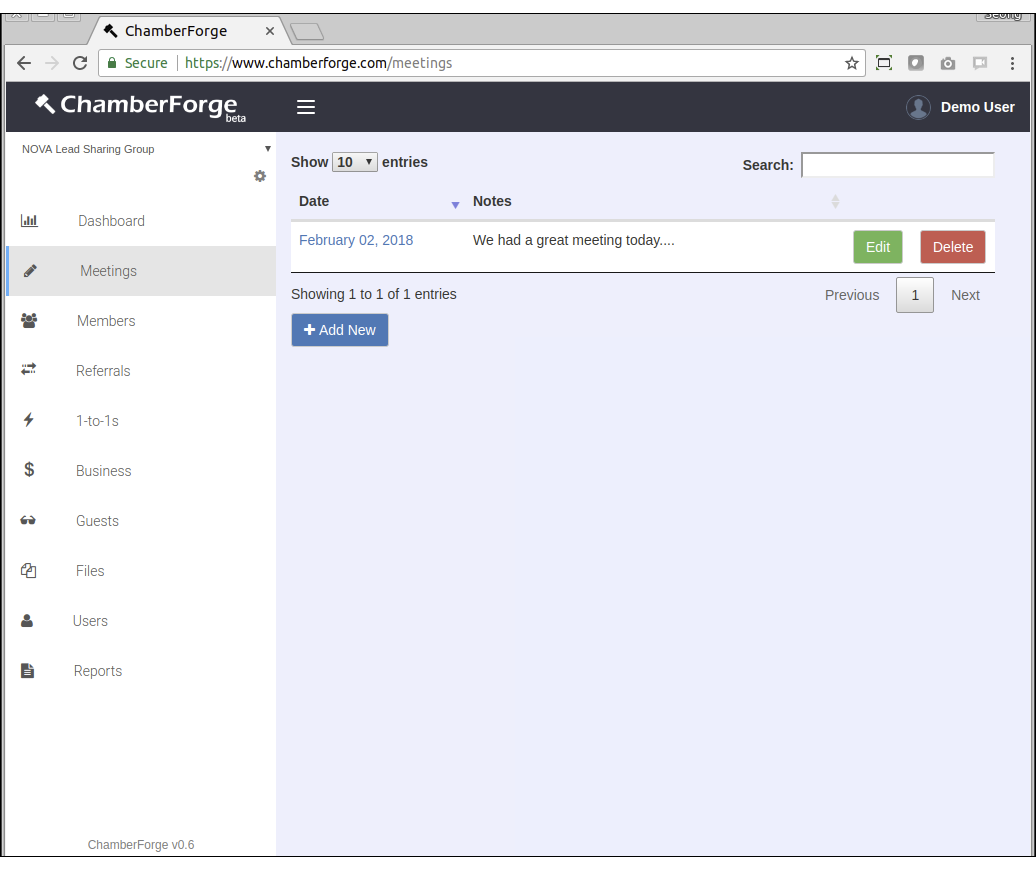
After adding members, you are done with setting up the group. Now, after a weekly or bi-weekly meeting where members get together to report out various activities including 1-to-1 meetings, leads for other members, and guests invited, you can create a meeting in ChamberForge to track all the information.
Click on Meetings on the left menu and add a new meeing.